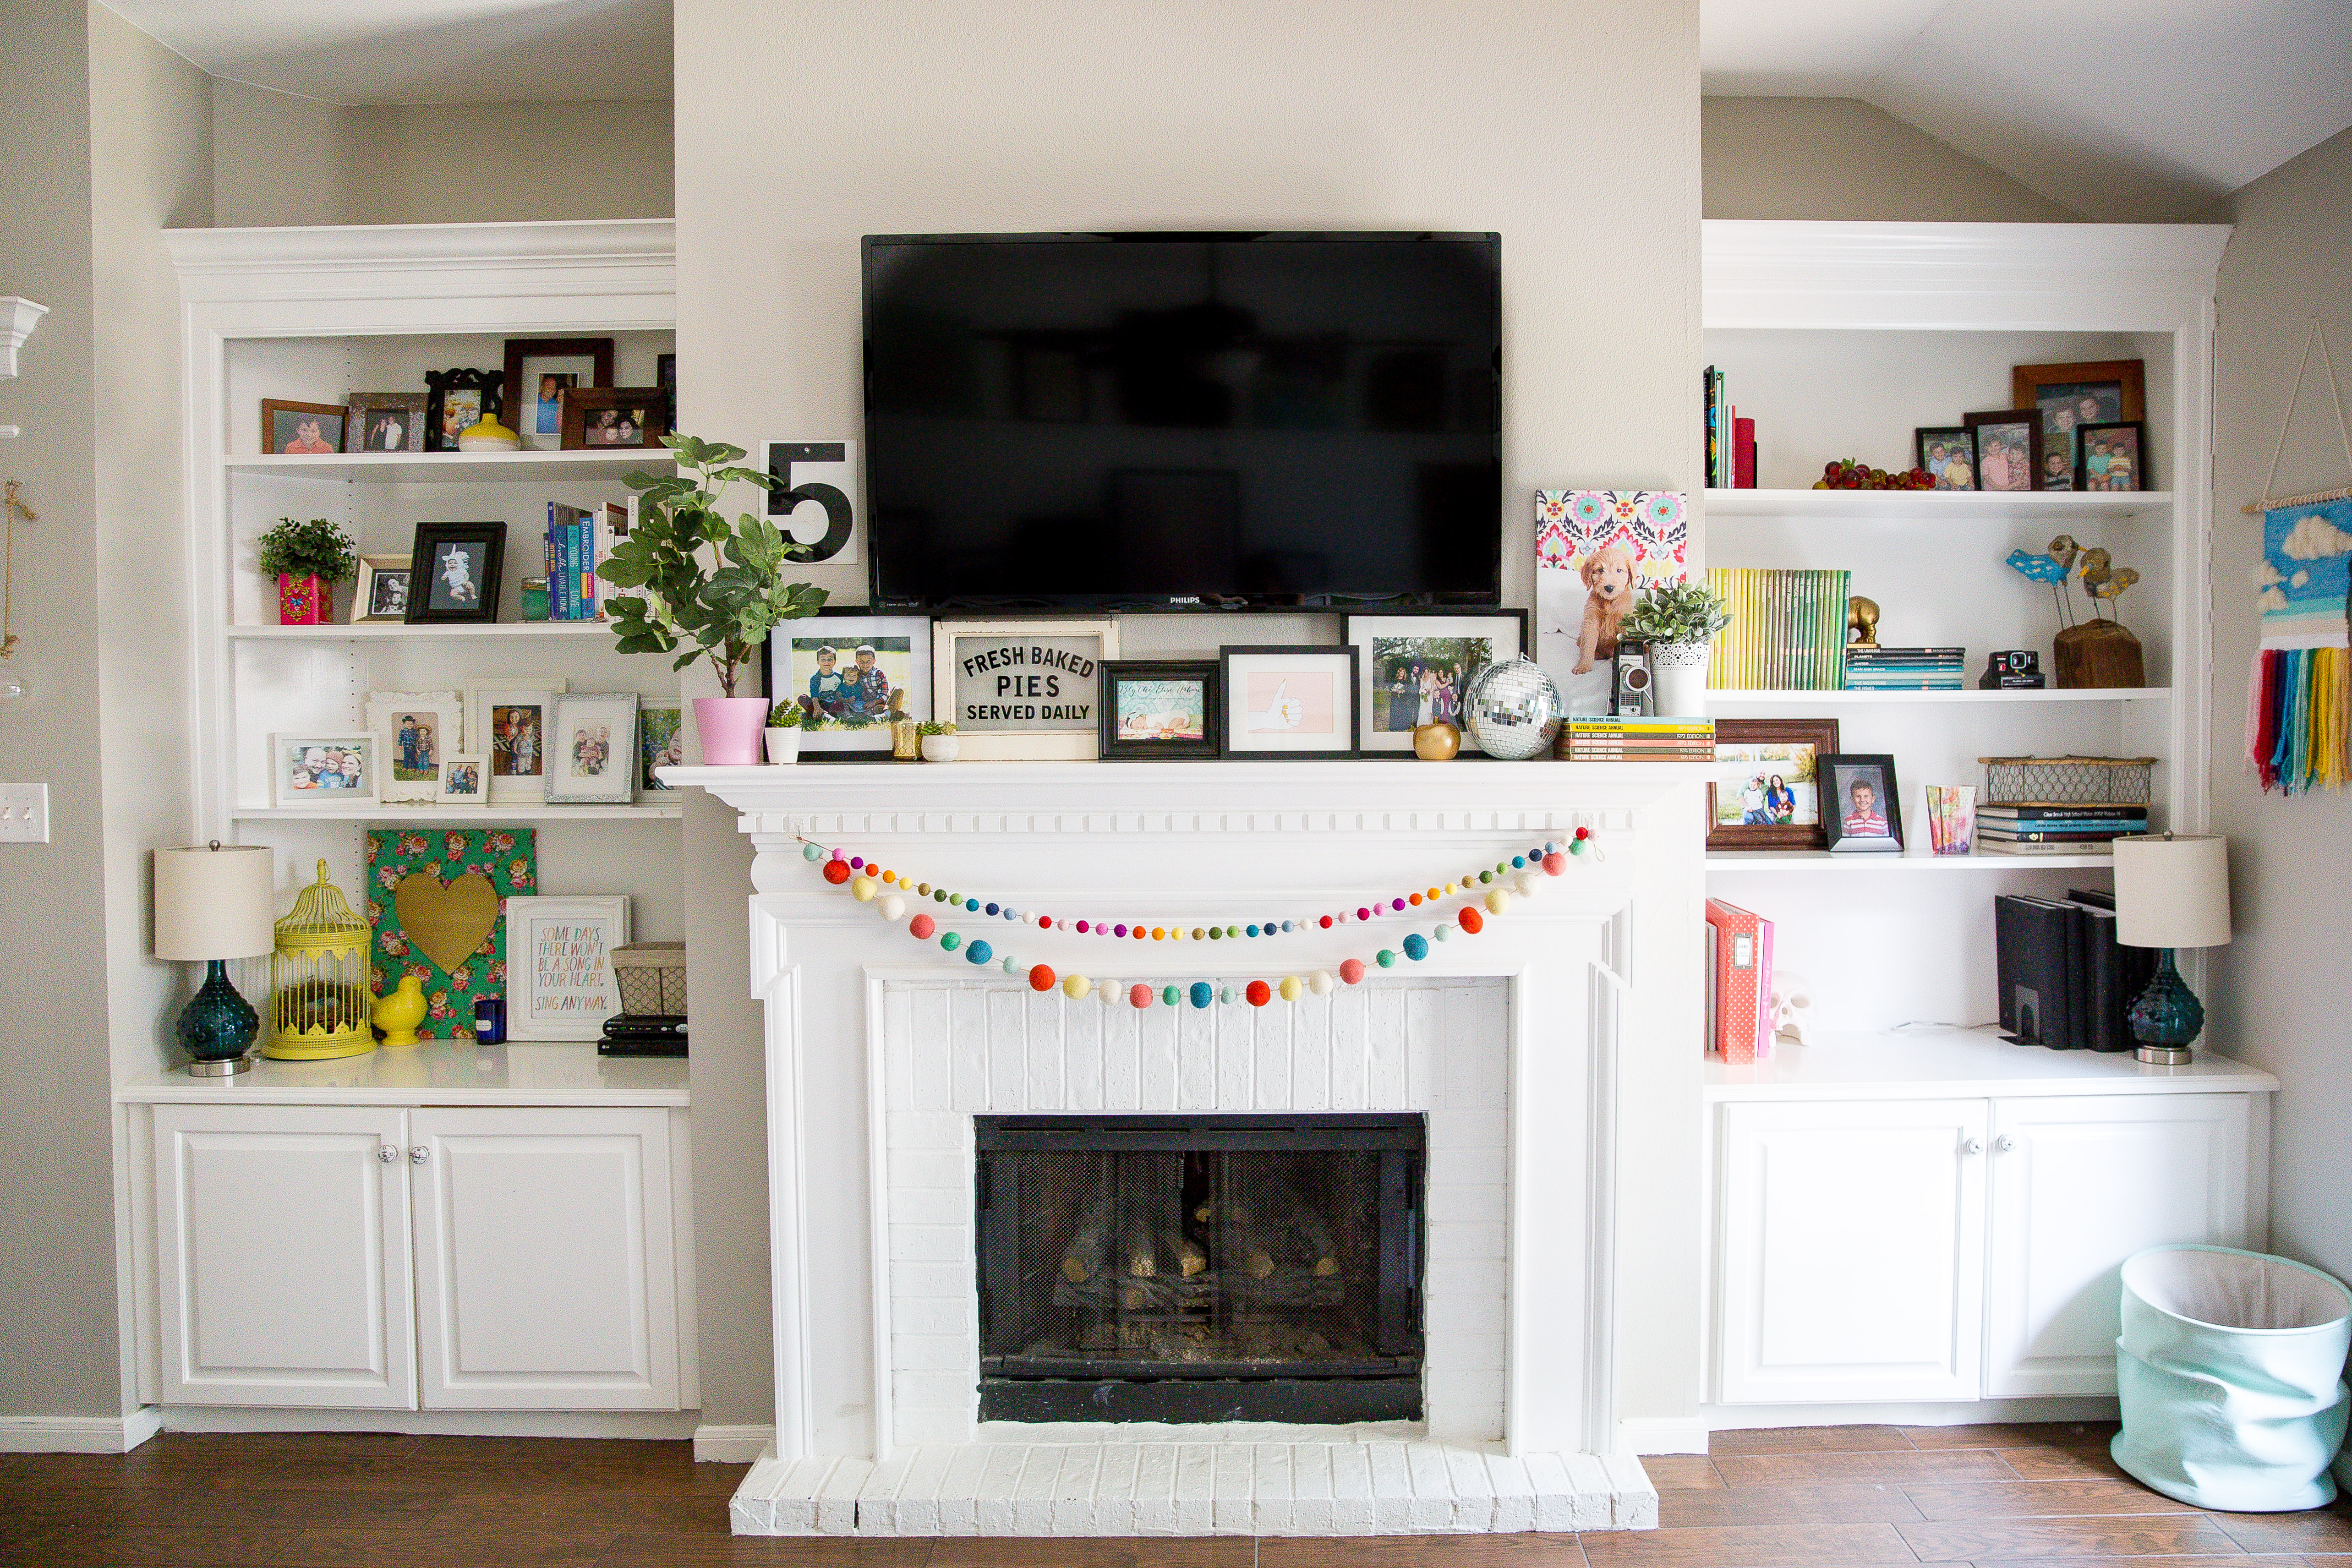
 First post of 2019! I finally got around to organizing my shiplap photos to share our Shiplap Wall Tutorial! You all probably have a shiplap wall in your house at this point haha, but for those who don’t, This is for you :) This treatment is so pretty and looks so put together but it’s actually really easy!

We have 10 foot ceilings and this wall is about 16.5′ wide so that is the area we are working with here. We went to Home Depot and got the super thin 3/16th” plywood (which my husband said is sometimes called paneling). We did the math and with our area we purchased 6 sheets and that worked out perfectly for us. A sheet of plywood is 8′ x 4′ so, we had it cut into 8″ strips (longways) because that way you don’t have any waste and you get 6 long boards out of one sheet. Don’t forget that hardware stores will cut your boards for you! We could have done it at home very but it’s free and why not just have it done before you even get home, right?! We found a super nice Home Depot employee and on their fancy machine it took him 10 minutes!

So, like I said with our 6 sheets of plywood that we had cut into 8″ strips that left us with 36 boards. You will have to do the math depending on your wall size but it should be pretty easy to figure out… each board ends up measuring 96″ x 8″. We started our boards at the top because if we had to cut anything to fit later on in the project it would be the part that is hidden by the couch. We used a nail gun and used two nails on the right, two in the center of the board and two on the left side.

I wanted it to look a random but that also took a little planning. I wanted to make sure that no seams ended up right over each other but also not “perfectly” bricked either.

Please excuse the terrible, badly lit cell phone pictures on this project. We had to work on this after Bryan got home from work and after the kids were fed and bathed. Get it in where you can fit it in right? Here are a few pictures I shared on Instagram stories. We used the “nickel method”. When we started a new board we each held up a nickel on both ends of the board then butted the new board up against the nickels. We did that on the horizontal gaps but not the vertical gaps.

Once we got going, we got into a grove and it came together quickly! We did have that corner angle and two electrical outlets that we had to cut around.


Then it was time to paint. I don’t love painting but painting one wall is doable for me haha! We had to stop for a few days in between for kids activities and Bryan actually loved the raw wood, I on the other hand could not wait to paint it white! I used Sherwin Williams Pure White.

These boards were super thirsty so I had to do 3ish coats.

Because of the “nickel” gap in between the boards the paint started filling in the spaces in some spots. I used business cards to go between each space and clean the paint up.


Finally after 3+ coats it started coming together! Before the shiplap was installed I always has a gallery wall over the couch but wood isn’t nearly as forgiving with holes like sheetrock is and I move pictures around a lot. So, I decided we needed some picture rails over the couch so we could move things around easier. 

I drew the rails out and this is what Bryan came up with. We used 1″x4″ boards which are 8 feet long. He stripped down a little ledge into a 1″x1″ for the front of the rails. It looks like 2 rails but there are actually 4 rails that are just hung right next to each other. Again, our wall is a little over 16 feet wide so the two 8 feet rails fit almost just right. There is about two inches on each side of the rails.


Overall I LOVE how it turned out! It took a few days but the work was easy once we got going. It actually makes the room look so much bigger too, maybe with the help of the picture rails. We have a pretty small living room (or cozy as I like to call it :) so we have to utilize all the space.


Let me know if I left anything out or if you have any other questions about doing a Shiplap Wall. I will link sources down at the bottom :)


Sources:
Couch – Ashley Furniture – Loric Smoke Sectional
Rug – Rugs USA
End table – Tutorial HERE
Small Lamp – Target
Floor Lamp – World Market
Big watercolor art – Emily Jeffords for Minted
Letteroard – Letterfolk
You are loved sign – Bonnie Christine
Rainbow wall hanging – my mom made it and its so beautiful!

Leave a Reply